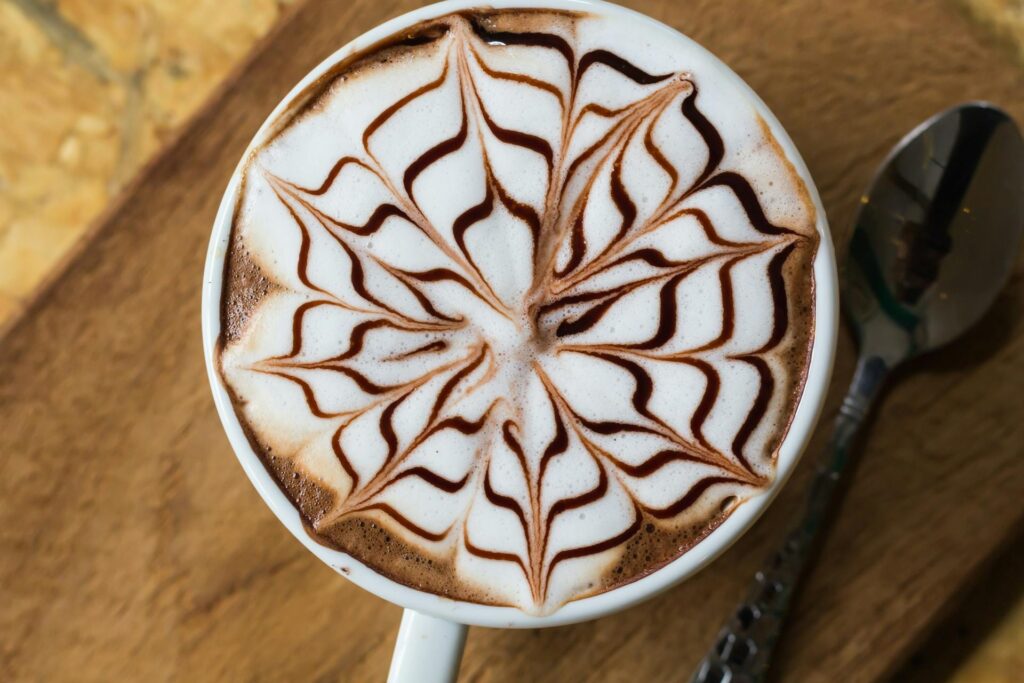
Why hand over five bucks every time you crave a vanilla or caramel latte? Those syrups behind the counter aren’t magic, but they’re just sugar, water, and flavor.
I remember the first time I made my own vanilla syrup at home. It felt like I’d stolen a secret from the café down the street. The best part? My “fancy latte” cost less than pocket change.
In this post, I’ll show you how to whip up three classics—vanilla, caramel, and hazelnut—so you can turn your kitchen into your own coffee shop!
What Are Coffee Syrups?
Coffee syrups are nothing more than sugar dissolved in water with a flavor mixed in. Think of them as liquid sweeteners with personality.
Instead of just tossing plain sugar into your mug, you’re adding character—vanilla warmth, caramel richness, or nutty hazelnut.
They’re the secret sauce behind café menus that makes a regular latte taste like a treat.
Why They’re Worth Making
The biggest perk? Control. You decide how sweet, how strong, and what goes in. Store-bought bottles are loaded with preservatives, corn syrup, and mystery ingredients you can’t pronounce.
Homemade syrups give you pure flavor without the extras. They’re also easy on your wallet.
One batch costs just a fraction of a single café drink, and it’ll last you through dozens of lattes. That’s not just a win, but it’s a landslide victory for your budget.
Beyond the Coffee Mug
Here’s the fun part: syrups don’t stop at coffee. Stir a spoonful into iced tea or cold brew for a quick flavor upgrade. Drizzle it over pancakes, swirl it into oatmeal, or sneak it into whipped cream.
Some bakers even brush cakes with flavored syrups to lock in moisture and add depth.
Once you’ve got a few bottles in your fridge, you’ll start looking at every dessert or drink and wondering, “Would this taste better with a splash of vanilla or caramel?”
Spoiler: the answer is almost always yes!
Essential Ingredients & Tools
The Basics You’ll Always Need
Every syrup starts with the same foundation: sugar and water. That’s your canvas.
From there, you add flavor like maybe a splash of vanilla extract, a batch of caramelized sugar, or a handful of roasted hazelnuts. It’s surprisingly simple.
No fancy science, no hidden tricks. Just everyday ingredients you probably already have in your pantry.
Tools of the Trade
You don’t need a professional kitchen setup. A medium saucepan is your main workhorse.
A whisk helps keep the sugar from clumping, and a strainer makes sure your hazelnut bits don’t float around in the finished syrup.
Finally, you’ll want a few glass jars or bottles to store your creations.
Bonus points if they have pour spouts—it makes adding a splash to your coffee much easier than wrestling with a spoon at 7 a.m.
A Pro Tip for Longer Life
Want your syrups to last? Use sterilized bottles. A quick rinse with boiling water or a spin in the dishwasher on the hot cycle will do the trick.
It’s the small detail that keeps your syrups fresh for weeks instead of days.
Without it, you might end up with a science experiment growing in the fridge, and trust me, that’s one “flavor” nobody wants in their latte.
DIY Vanilla Syrup
Ingredients
- 1 cup white sugar
- 1 cup water
- 1 tablespoon pure vanilla extract or 1 whole vanilla bean (split down the middle)
Step-by-Step Directions
- In a small saucepan, combine the sugar and water.
- Heat over medium, stirring occasionally, until the sugar fully dissolves. Don’t let it boil hard—just a gentle simmer.
- Remove from heat. Stir in the vanilla extract. If using a vanilla bean, drop it in while the syrup is still hot and let it steep for at least 15 minutes.
- Once cooled, remove the bean (if used).
- Pour the syrup into a clean, sterilized glass bottle or jar.
That’s it. You’ve just made vanilla syrup for less than the price of one Starbucks latte!
Storage + Shelf Life
Keep your vanilla syrup in the fridge. In a sterilized bottle, it will last up to 2 weeks with extract, or about 1 week if you’ve steeped a fresh vanilla bean.
Always check for cloudiness or off smells before using.
Flavor Pairings
Vanilla is the ultimate team player. Add a pinch of cinnamon for a cozy fall vibe, or a touch of dried lavender for something floral and fancy.
It also pairs beautifully with caramel syrup in a latte if you’re feeling extra indulgent.
DIY Caramel Syrup
Ingredients
- 1 cup white sugar
- ½ cup water (divided: ¼ cup for caramelizing, ¼ cup for thinning)
- ¼ cup heavy cream (optional, for richness)
- ½ teaspoon pure vanilla extract (optional, for depth)
- Pinch of salt (optional, to balance sweetness)
Step-by-Step Directions
- In a medium saucepan, add ¼ cup of water and all of the sugar. Stir gently to mix.
- Heat over medium without stirring once it begins to bubble. Swirl the pan occasionally instead of stirring to prevent crystallization.
- Watch closely as the sugar turns from clear to golden amber. Don’t walk away because caramel goes from perfect to burnt in a blink.
- Once the sugar reaches a rich golden brown, carefully add the remaining ¼ cup of water. It will hiss and bubble up—keep your face back. Stir gently until smooth.
- For extra creaminess, whisk in the heavy cream. Add the vanilla and a pinch of salt if you’d like.
- Let the syrup cool slightly, then pour it into a clean, sterilized bottle or jar.
Storage + Shelf Life
Store in the fridge for up to 2 weeks. The texture may thicken slightly over time; just warm it gently in the microwave or in a hot-water bath to loosen it back up.
Flavor Pairings
Caramel is bold, but it loves company. Add a sprinkle of flaky sea salt for that sweet-salty magic you’d find in a fancy café.
Or mix in pumpkin spice for a seasonal twist that practically begs to be poured over a latte in autumn.
DIY Hazelnut Syrup
Ingredients
- 1 cup roasted hazelnuts (skins removed if possible)
- 1 cup white sugar
- 1 cup water
- ½ teaspoon vanilla extract (optional, for warmth)
Step-by-Step Directions
- Roughly chop the roasted hazelnuts to help release their oils.
- In a saucepan, combine the water and hazelnuts. Bring to a gentle simmer and let them infuse for about 10 minutes. Stir occasionally.
- Strain the liquid through a fine mesh strainer or cheesecloth into a clean bowl, pressing on the nuts to extract as much flavor as possible. Discard the solids.
- Pour the hazelnut-infused water back into the saucepan. Add the sugar and stir over medium heat until fully dissolved.
- Remove from heat and stir in vanilla extract if using.
- Let the syrup cool, then transfer it into a sterilized glass bottle or jar.
Storage + Shelf Life
Keep refrigerated for up to 10–14 days. Because it’s nut-based, it won’t last quite as long as plain syrups, so smaller batches are usually smarter.
If it turns cloudy or smells “off,” it’s time to say goodbye.
Flavor Pairings
Hazelnut is a natural soulmate for chocolate. Stir a splash into your mocha and you’ve got instant café-level indulgence.
It also pairs beautifully with vanilla syrup for a nutty-sweet combo that feels fancy without the price tag.
Customization & Creative Variations
Mix and Match Flavors
Once you’ve nailed the basics, it’s playtime. Try combining vanilla and caramel for a smooth, buttery sweetness that tastes like dessert in a cup.
Or pair hazelnut with chocolate for a flavor that screams “Nutella latte.” Don’t be afraid to experiment. Sometimes the most unexpected mashups end up being the ones you can’t stop making.
Seasonal Spins
Around the holidays, swap in peppermint for that cozy candy-cane vibe. When autumn rolls around, pumpkin spice is the obvious choice.
A dash of nutmeg or ginger can transform a plain latte into something festive and comforting. Think of it as decorating your coffee the same way you’d decorate your house for the season.
Sugar Alternatives
White sugar works, but it’s not your only option. Honey adds a floral, almost tea-like sweetness. Maple syrup brings a rich, earthy note that pairs beautifully with nut flavors.
Monk fruit or stevia are solid picks if you want a lower-calorie route. Each one changes the flavor slightly, so you get more than just sweetness, but you get personality in every sip.
Cost & Savings Breakdown
Store-Bought vs. Homemade
A standard bottle of flavored syrup from the store usually runs anywhere from $8 to $12. And while it lasts a while, you’re still stuck with one flavor and whatever preservatives come along for the ride.
On the flip side, making a batch at home typically costs $1 to $2 in basic ingredients. That’s pennies compared to what you’d pay on the shelf.
Per-Serving Comparison
Let’s put it into perspective. A Starbucks vanilla latte averages $5 to $6. At home, your DIY syrup plus coffee and milk might add up to under $1 per cup.
Even if you go fancy with cream or use premium beans, you’re still saving several dollars every single time you make one.
After a week of skipping the café line, you’ll notice your wallet feels heavier and not just from avoiding the tip jar.
The Real Perk: Control
The money is great, but the bigger win is creative control. You decide how sweet, how bold, and what ingredients go in. Want a stronger vanilla hit? Add another splash.
Prefer caramel with a pinch of sea salt? Easy. You’re not just saving cash—you’re building drinks that taste like they were made exactly for you. That’s a café upgrade money can’t buy.
Tips for Storage & Shelf Life
Keep It Cool
Once your syrup is bottled, stash it in the fridge. Most homemade syrups stay fresh for about 1–2 weeks.
Extract-based versions (like vanilla) lean toward the longer side, while nut-based ones (like hazelnut) should be used up a little faster.
Spot the Red Flags
If the syrup turns cloudy, grows crystals, or smells even slightly “off,” it’s time to toss it. Coffee is meant to perk you up, not send you running for stomach medicine.
A quick visual and sniff test before using is a good habit.
Sterilize for Safety
Using sterilized bottles is a simple trick to extend freshness. A rinse with boiling water or a cycle through the dishwasher on high heat helps keep bacteria at bay.
The better the bottle, the longer your syrup stays delicious.
Serving Ideas
In Your Cup
The obvious move is coffee. A splash of vanilla syrup in a hot latte makes it taste like it came from a café. Caramel syrup stirred into iced coffee adds a sweet, buttery kick that feels like a treat.
Hazelnut in cold brew? That’s an instant upgrade—smooth, nutty, and way more interesting than plain sugar.
Beyond the Mug
These syrups aren’t just one-trick ponies. Drizzle vanilla over a stack of pancakes instead of maple syrup. Swirl caramel into your morning oatmeal for a cozy, dessert-like breakfast.
A spoonful of hazelnut syrup on ice cream tastes like a sundae straight out of a fancy bistro. Once you start experimenting, you’ll find excuses to use them everywhere.
Gifts With Personality
Homemade syrups also make amazing gifts. Pour them into small glass bottles, add a cute custom label, and maybe tie a ribbon around the top.
Hand them out during the holidays, birthdays, or as a “just because” surprise. It’s thoughtful, practical, and far more personal than a generic coffee shop gift card.
Plus, people love the idea of sipping something made in your kitchen because it feels like sharing a piece of your ritual with them.
Final Words
Making your own coffee syrups is simple, cheap, and endlessly customizable. You get flavor that fits your taste without paying café prices.
Each batch turns your morning cup into more than just caffeine—it becomes a little ritual you designed. That’s the real luxury.
So pick one recipe, give it a try this week, and play with the flavors. Share your favorite combos, pour generously, and enjoy the café life right from your own kitchen!
Hi, I’m Selene Veyra! I’m the coffee-loving creator of Brewed Moments. My passion for coffee began in my grandmother’s kitchen, where her morning brew sparked a lifelong love for the beverage. Now I test brewing methods, gear, and homemade café-style recipes to make great coffee simple for everyone ☕


