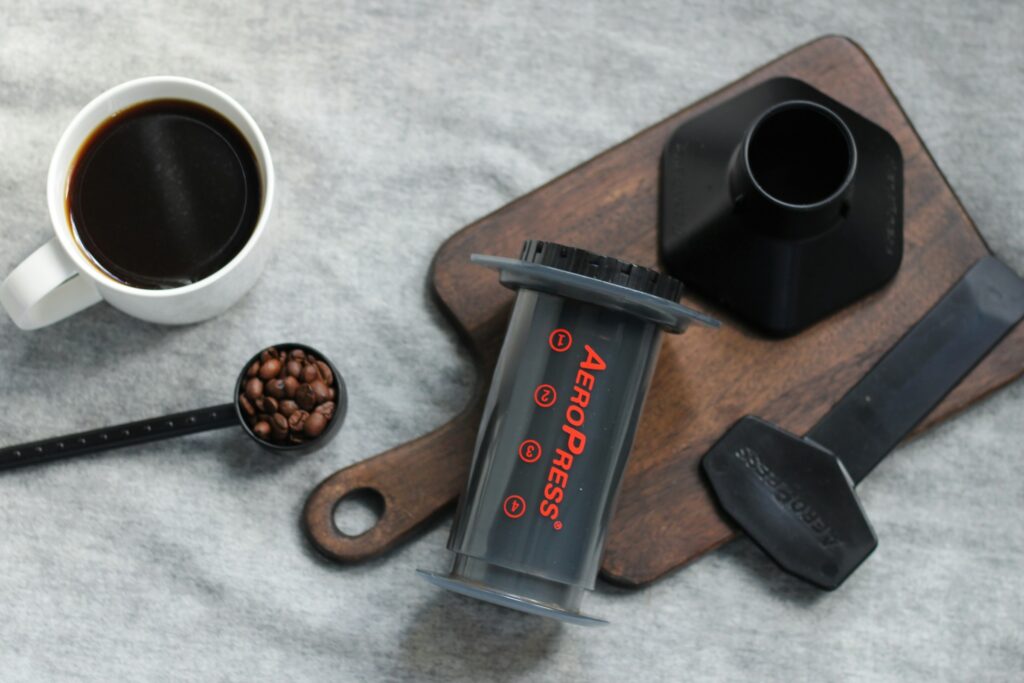
Some mornings call for speed. Others call for comfort. The AeroPress gives you both in one neat little tube.
It’s the coffee maker loved by baristas, backpackers, and anyone who hates scrubbing out a French press.
Quick brew, easy cleanup, and a taste that’s smoother than your average cup—what’s not to like?
In this guide, you’ll learn exactly what you need, how to brew step-by-step, and a few tricks to make your AeroPress coffee taste like café magic at home!
What You’ll Need
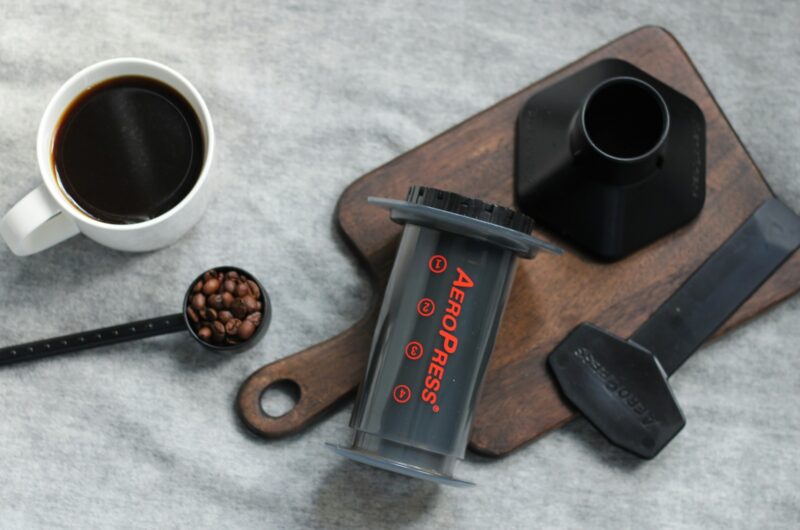
- AeroPress kit – chamber, plunger, filter cap, and 1 paper or metal filter per brew
- Coffee beans – about 14–18 g (2–3 tablespoons) per cup
- Grinder – burr grinder recommended for a consistent medium-fine grind
- Kettle – ideally with temperature control, heating 200–220 ml (7–8 oz) water per brew
- Mug or carafe – big enough to hold your brew (at least 250 ml / 8 oz)
- Optional tools:
- Scale – for precise coffee-to-water ratio
- Stirrer – plastic or wooden to avoid scratching
- Timer – for consistent steeping time
Choosing the Right Coffee
Grind Size: Medium-Fine (Like Table Salt)
The AeroPress is a forgiving brewer, but grind size still makes or breaks your cup. Too coarse and your coffee tastes weak, almost watery.
Too fine and it turns bitter, with a press that feels like you’re doing an arm workout at the gym.
Aim for medium-fine—somewhere between table salt and beach sand. This gives you just enough resistance when pressing, while still letting the flavors shine.
Roast: Light, Medium, or Dark
Here’s the fun part: the AeroPress doesn’t play favorites. Light roasts highlight fruity, tea-like notes and pair beautifully with shorter brew times.
Medium roasts give you balance—smooth, nutty, and just a touch of sweetness.
Dark roasts bring out bold, chocolatey flavors that taste like a cozy hug in a cup.
There’s no wrong answer here; it’s all about what makes you smile at 7 a.m.
Freshness: Why Freshly Ground Matters
If you’ve ever compared bagged pre-ground coffee with beans ground right before brewing, you know the difference. Coffee loses flavor fast once it’s ground—oxygen steals the magic within minutes.
Freshly ground beans keep the aroma bright and the taste alive.
A cheap burr grinder will do more for your AeroPress than the fanciest kettle ever could. Think of grinding fresh beans as unlocking the “secret level” of flavor.
Brewing Basics (Step-by-Step: Standard Method)
Step 1: Heat the Water to ~85–95°C (185–203°F)
Water temperature is your first lever of control. Too hot and your coffee can taste bitter or harsh. Too cool, and it comes out flat, like coffee-flavored water.
Aim for the sweet spot between 85–95°C (185–203°F). If you don’t own a fancy kettle with temperature control, just boil water, then let it sit for about 30 seconds before pouring.
Easy hack, big difference.
Step 2: Rinse the Filter with Hot Water
Don’t skip this. Rinsing the paper filter does two things: it gets rid of any papery taste, and it warms up the brewer so your coffee doesn’t lose heat mid-brew.
Just place the filter in the cap, pour a little hot water through, and you’re set.
Bonus: your mug gets preheated too.
Step 3: Add Ground Coffee (14–18 g)
Scoop in 14–18 grams of medium-fine coffee. That’s about two to three tablespoons if you’re eyeballing. If you want more strength, lean toward the higher end.
If you prefer a gentler cup, stick closer to 14 g.
Step 4: Pour Water to the Fill Line (Up to 220 ml)
Slowly add hot water until it reaches the “1” or “2” line for a smaller, stronger cup, or all the way to the top (220 ml) for a full mug. Pouring too fast can make the coffee uneven, so steady wins the race here.
If you’re chasing consistency, use a scale and timer. If you’re just after caffeine before work, fill and go.
Step 5: Stir Gently for ~10 Seconds
Give the coffee a gentle stir with the AeroPress stirrer (or a spoon if you’re a rebel). This makes sure the grounds are evenly soaked.
Don’t whip it like cake batter—just a quick swirl is enough. Even mixing = even extraction.
Step 6: Insert Plunger and Press Slowly (20–30 Seconds)
Attach the plunger and push down slowly. Aim for 20–30 seconds of steady pressure. You’ll hear a soft hiss when the chamber is empty—that’s your victory bell.
If pressing feels like wrestling with a car jack, your grind is too fine. If it feels like air, it’s too coarse.
Step 7: Enjoy Your Cup
And that’s it. You’ve just brewed a clean, flavorful cup in under three minutes. Sip it black to taste all the nuance, or add milk and sugar if that’s your vibe. There are no coffee police.
The beauty of the AeroPress is that it gives you control without demanding perfection.
Inverted Method (For Richer Flavor)
Setup: Flip the AeroPress Upside Down
This is where the AeroPress shows off its playful side. Instead of sitting the chamber on your mug, flip it upside down so the plunger is on the bottom and the open end faces the sky.
It looks a little odd, like you’re building a coffee rocket, but it gives you more control over what happens inside. No drips, no rush. Just coffee waiting patiently.
Steps: Coffee, Water, Stir, Steep, Cap, Flip, Press
Add your usual dose of ground coffee (14–18 g) into the inverted chamber. Pour in hot water—up to the top if you like a full cup. Stir gently to mix.
Here’s the twist: let it steep longer, anywhere from one to three minutes, depending on how bold you want it. While it’s brewing, attach the filter cap with a rinsed filter.
Now comes the dramatic moment—flip the whole thing over onto your mug. It feels risky the first time, but keep a steady hand. Press slowly, just like in the standard method, until you hear that familiar hiss.
Benefits: More Control, Bolder Taste
So why bother with this circus act? Simple: flavor. The inverted method stops water from dripping through too early, which means the coffee steeps more evenly.
You get a richer, fuller cup with a heavier body. If you like exploring different beans and roast profiles, this method gives them room to shine.
| Feature | Standard Method 🕒 | Inverted Method 🔄 |
|---|---|---|
| Setup | AeroPress sits on a mug, filter at the bottom | AeroPress flipped upside down, plunger at base |
| Brew Time | Short (1–2 minutes total) | Longer steep (1–3 minutes before pressing) |
| Flavor Profile | Clean, bright, lighter body | Rich, bold, fuller body |
| Control | Limited—coffee drips as you pour | Full control—no dripping until you flip |
| Ease of Use | Beginner-friendly, less risk of spills | Slightly tricky flip, more practice needed |
| Best For | Quick morning cup, smooth everyday brew | Flavor experiments, stronger and richer cups |
Tips & Tricks for the Best Cup
Experiment with Water Temperature and Brew Ratio
The AeroPress is like a playground for coffee lovers. A small change in water temperature or the amount of coffee you use can completely change the flavor.
Hotter water (closer to 95°C / 203°F) pulls out stronger, bolder notes. Cooler water (around 85°C / 185°F) gives you a smoother, sweeter cup.
Play with ratios too—try 1:12 (strong), 1:15 (balanced), or 1:17 (lighter).
Try Metal vs. Paper Filters
Filters are not just an accessory—they shape the taste. Paper filters give you a clean, crisp cup with no grit. Metal filters let more oils through, creating a heavier body and richer flavor.
Neither is “better,” but they are different. If you like a silky, tea-like coffee, stick with paper. If you want something more robust and espresso-like, grab a metal filter. It’s a small swap with a big impact.
Use a Scale for Consistency
Eyeballing works in a pinch, but a scale takes your AeroPress game to the next level. It’s the difference between “pretty good” and “nailed it every single time.”
Measuring 15 g of coffee and 220 ml of water keeps your brews consistent, which makes experimenting easier.
You can change just one variable at a time and actually taste the difference. Plus, it feels oddly satisfying to see the numbers line up.
Play with Steeping Time
Steeping is where flavor lives. A short brew—under a minute—keeps things light and lively. A longer brew—closer to three minutes—brings out deeper, bolder flavors.
There’s no right or wrong here, only what makes your taste buds happiest. Start somewhere in the middle, then adjust like you’re fine-tuning a recipe.
Cold Brew Hack: Steep in Cold Water
Here’s a trick that surprises people: the AeroPress can do cold brew. Add your coffee, pour in cold water, stir, then let it sit in the fridge for 12–24 hours. After steeping, press it through as usual.
The result? A smooth, low-acid drink that’s refreshing and perfect over ice. It’s the lazy person’s cold brew—you don’t need fancy gear, just patience.
Cleaning & Maintenance
Pop Out the Coffee Puck and Rinse
One of the AeroPress’s best party tricks is how easy it is to clean. When you’re done brewing, just push the plunger all the way through, and the used coffee puck pops out with a satisfying thud.
Rinse the chamber and plunger under warm water, and you’re already 90% done. No scrubbing, no lingering sludge like a French press. It’s almost too easy.
Wash Occasionally with Mild Soap
You don’t need to soap it up every single day. A quick rinse after each brew keeps things tidy. But every week or so, give the parts a gentle wash with mild soap to prevent oil buildup from the beans.
Skip the harsh cleaners or abrasive sponges—plastic scratches easily, and scratches can trap old flavors you don’t want sneaking into your next cup.
Store Dry to Prevent Odors
Moisture is the enemy here. After washing, let the parts air dry completely before putting everything back together.
Storing it wet can lead to weird smells or even mold if you’re unlucky.
A dry AeroPress is a happy AeroPress.
Why AeroPress is Worth It
Travel-Friendly: Lightweight and Durable
The AeroPress is built for adventure. It’s small enough to toss into a backpack and sturdy enough to survive being banged around in a suitcase. Campers love it because it doesn’t need electricity.
Office workers love it because it takes up less space than a coffee mug. Wherever you go, it goes and it always delivers a reliable cup.
Affordable Compared to Espresso Machines
Let’s be real: an espresso machine can cost as much as a used car. The AeroPress? Usually under $40. It’s proof that you don’t need to empty your wallet to drink great coffee.
Sure, it won’t replace a $2,000 Italian machine, but it gets surprisingly close to that café-level taste without the sticker shock. It’s the definition of bang for your buck.
Consistent and Forgiving for Beginners
AeroPress has a kind personality. Mess up your grind size a little? It still tastes good. Pour water too fast? You’ll be fine.
Unlike some brewing methods that punish every mistake, the AeroPress lets beginners succeed right away. You’ll get a solid cup on day one, and it only gets better as you learn.
That kind of encouragement keeps people hooked.
Flexible Enough for Pros to Tinker Endlessly
On the flip side, this brewer has layers. Professionals and hobbyists tweak recipes like they’re solving puzzles.
Longer steeps, different ratios, exotic beans—there’s no end to the experiments.
In fact, there’s even an annual AeroPress Championship where coffee geeks show off wild recipes. It’s a brewer that grows with you, from rookie to pro.
Final Words
The AeroPress is fast, clean, and tasty—three words every coffee drinker loves to hear.
Don’t overthink it. Tinker with recipes, play with ratios, and see what makes your taste buds dance.
So grab your AeroPress, brew your first cup today, and discover just how good simple coffee can be!
FAQs
Can I use pre-ground coffee in an AeroPress?
Yes, but it won’t be as flavorful as freshly ground. Pre-ground loses aroma fast, so if you can, grind just before brewing for the best cup.
How much caffeine is in AeroPress coffee?
On average, about 80–120 mg per serving, depending on the amount of coffee and steep time. That’s similar to a standard cup of drip coffee.
Is AeroPress espresso real espresso?
Not exactly. Espresso requires high pressure, which the AeroPress doesn’t reach.
But with a fine grind and shorter brew time, you can make a strong, concentrated shot that’s great for lattes or cappuccinos.
What’s the difference between AeroPress Go and the original AeroPress?
The Go is a smaller, travel-friendly version that comes with its own cup. It brews the same way, just in a more compact design. The original is slightly bigger and better for at-home use.
Do I need a scale to use it properly?
No, but it helps. You can scoop and eyeball, and it’ll still taste good. A scale just makes your brews more consistent, especially if you like to experiment.
AeroPress Brewing Guide: Quick, Clean, Delicious
Course: Brewing GuidesDifficulty: Easy1
cup2
minutes1
minute3
minutesSmooth, clean coffee brewed in minutes using the AeroPress.
Ingredients
14–18 g (2–3 tbsp) freshly ground coffee, medium-fine
200–220 ml (7–8 oz) hot water (85–95°C / 185–203°F)
1 AeroPress paper or metal filter
Directions
- Heat water to 85–95°C (185–203°F).
- Rinse the filter with hot water and place it in the filter cap.
- Add ground coffee to the chamber.
- Pour in hot water up to the top line.
- Stir gently for 10 seconds.
- Insert plunger and press slowly for 20–30 seconds until you hear the hiss.
- Serve immediately and enjoy.
Notes
- Use a scale for consistent results.
- Adjust the coffee amount or steeping time for a stronger or lighter flavor.
- Try paper vs. metal filters to see which taste you prefer.
Hi, I’m Selene Veyra! I’m the coffee-loving creator of Brewed Moments. My passion for coffee began in my grandmother’s kitchen, where her morning brew sparked a lifelong love for the beverage. Now I test brewing methods, gear, and homemade café-style recipes to make great coffee simple for everyone ☕


